
Hace dos años os enseñaba la funda de punto que había hecho para mi agenda Moleskine y como estamos a punto de empezar un nuevo año me parece que es el momento perfecto para compartir mi patrón para que en 2017 ninguna agenda se quede sin su funda.
Es un proyecto muy facilito y rápido de tejer así que espero que os animéis a hacerlo (por supuesto luego quiero ver el resultado).
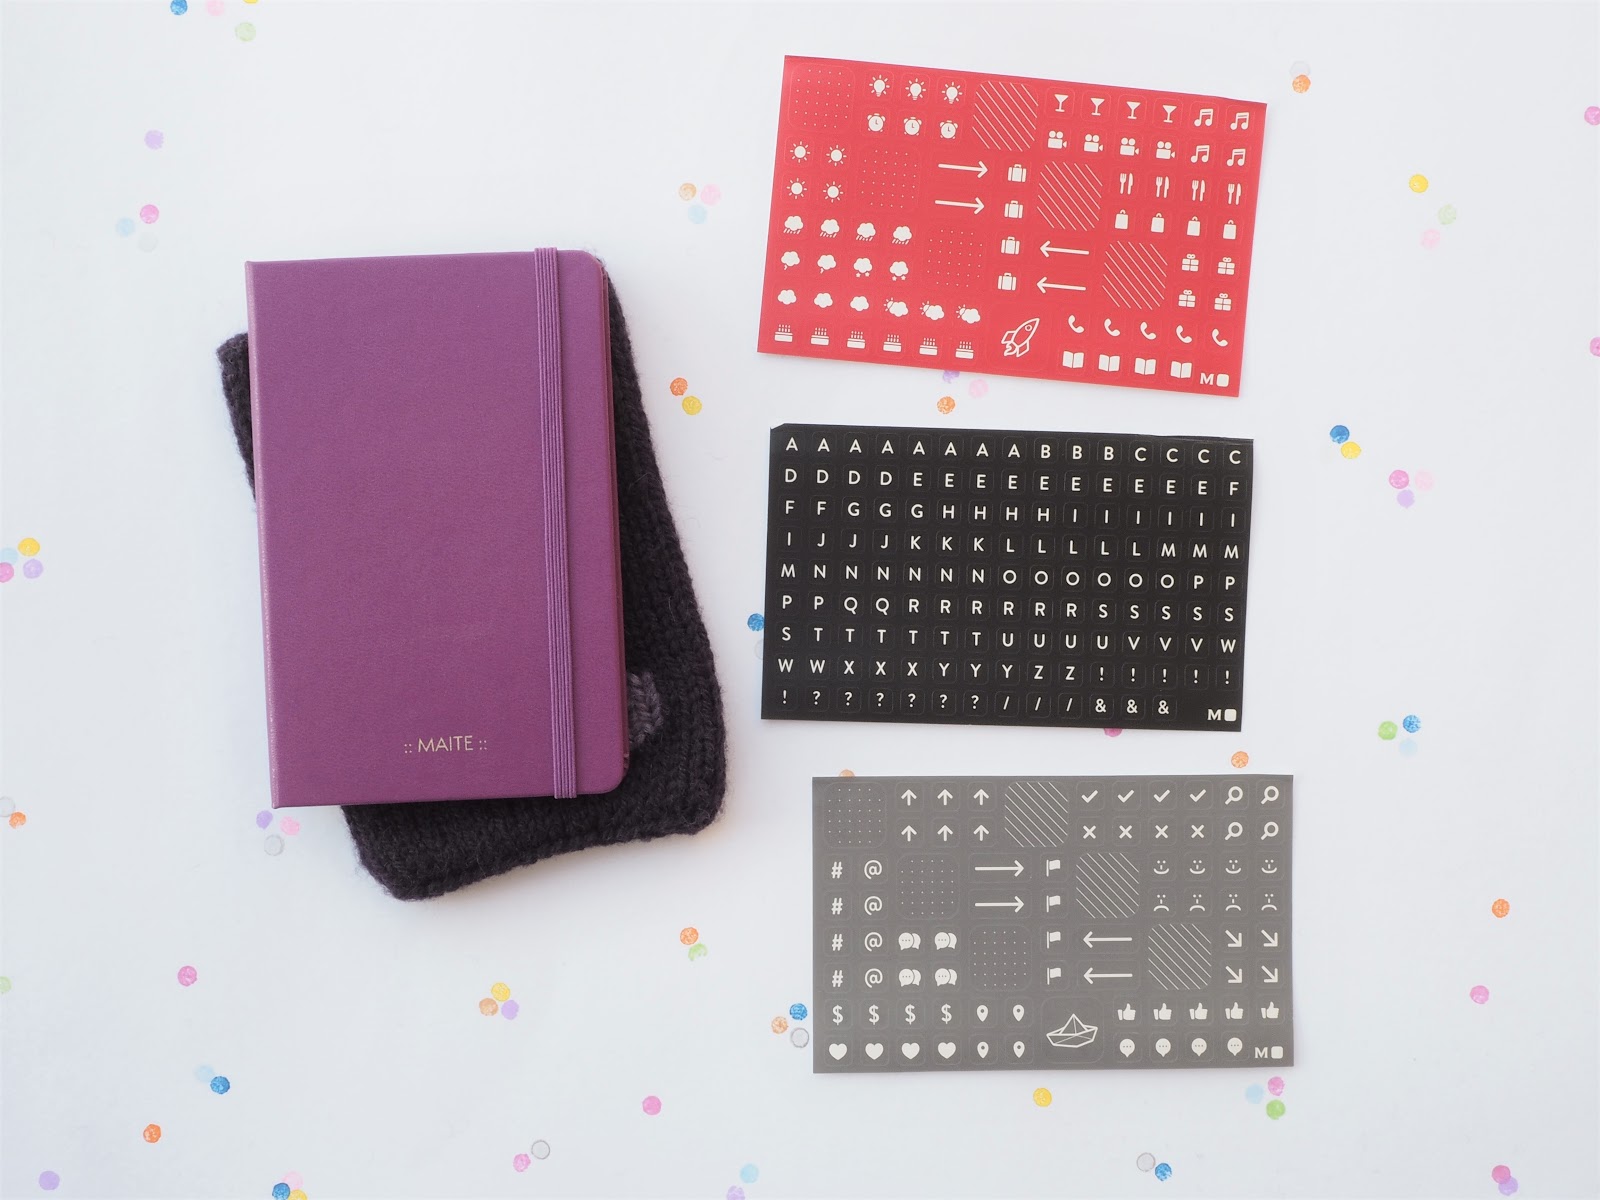
Podéis encontrar toda la información con las instrucciones y materiales necesarios debajo de las fotos.
¡Qué tejáis bonito!
Two years ago I showed you the knitted cover I had made for my Moleskine planner and as we are about to start a new year I think it is the perfect moment to share my pattern so in 2017 no planner remains without its cover.
It is a very easy and quick to knit project so I hope that you fancy making it (I do want to see the result later).
You can find all the information with the instructions and necessary materials below the pictures.
Hope you knit beautiful!


PATRÓN GRATUITO
Importante: Este patrón está pensado para una agenda Moleskine semanal tamaño bolsillo así que si vuestra agenda es de otro tamaño tendréis que adaptar el patrón a sus medidas
Lana: 50 gr. de lana de 5 mm en vuestro color preferido y restos de lana en algún color que contraste para personalizar la funda (yo utilicé DROPS Nepal en color "Violeta Oscuro" y "Lila Violeta")
Agujas: Agujas de doble punta o circulares de 4 mm
Puntos utilizados: Punto del derecho
Pasos:
Pasos:
- Montar 40 puntos y unir para empezar a tejer en circular.
- Tejer todos los puntos del derecho durante 44 vueltas o las vueltas necesarias para alcanzar la medida que os guste.
- Cerrar todos los puntos.
- Coser la parte de abajo para cerrar la funda.
- Personalizar la funda con el detalle que más os guste: una figura, vuestra inicial, etc... (yo hice un corazón duplicando los puntos con un color en contraste)
FREE PATTERN
Important: This pattern is created for a pocket size Moleskine weekly planner so if your planner has a different size you will have to adapt the pattern to its measures
Yarn: 50 gr. of 5 mm yarn in your favorite colour and some leftover yarn in a contrasting colour to customize the cover (I used DROPS Nepal in "Dark Purple" and "Purple")
Needles: Double pointed or 4mm circular needles
Stitches used: Knit
Steps:
- Cast on 40 stitches and join to start knitting in the round.
- Knit all the stitches during 44 rounds or the necessary ones to get the measure you like.
- Cast off all the stitches.
- Sew the bottom to close the cover.
- Customise the cover with the embellishment you like the most: a design, your initial, etc... (I made a heart by duplicating the stitches in a contrasting colour).
No comments:
Post a Comment